
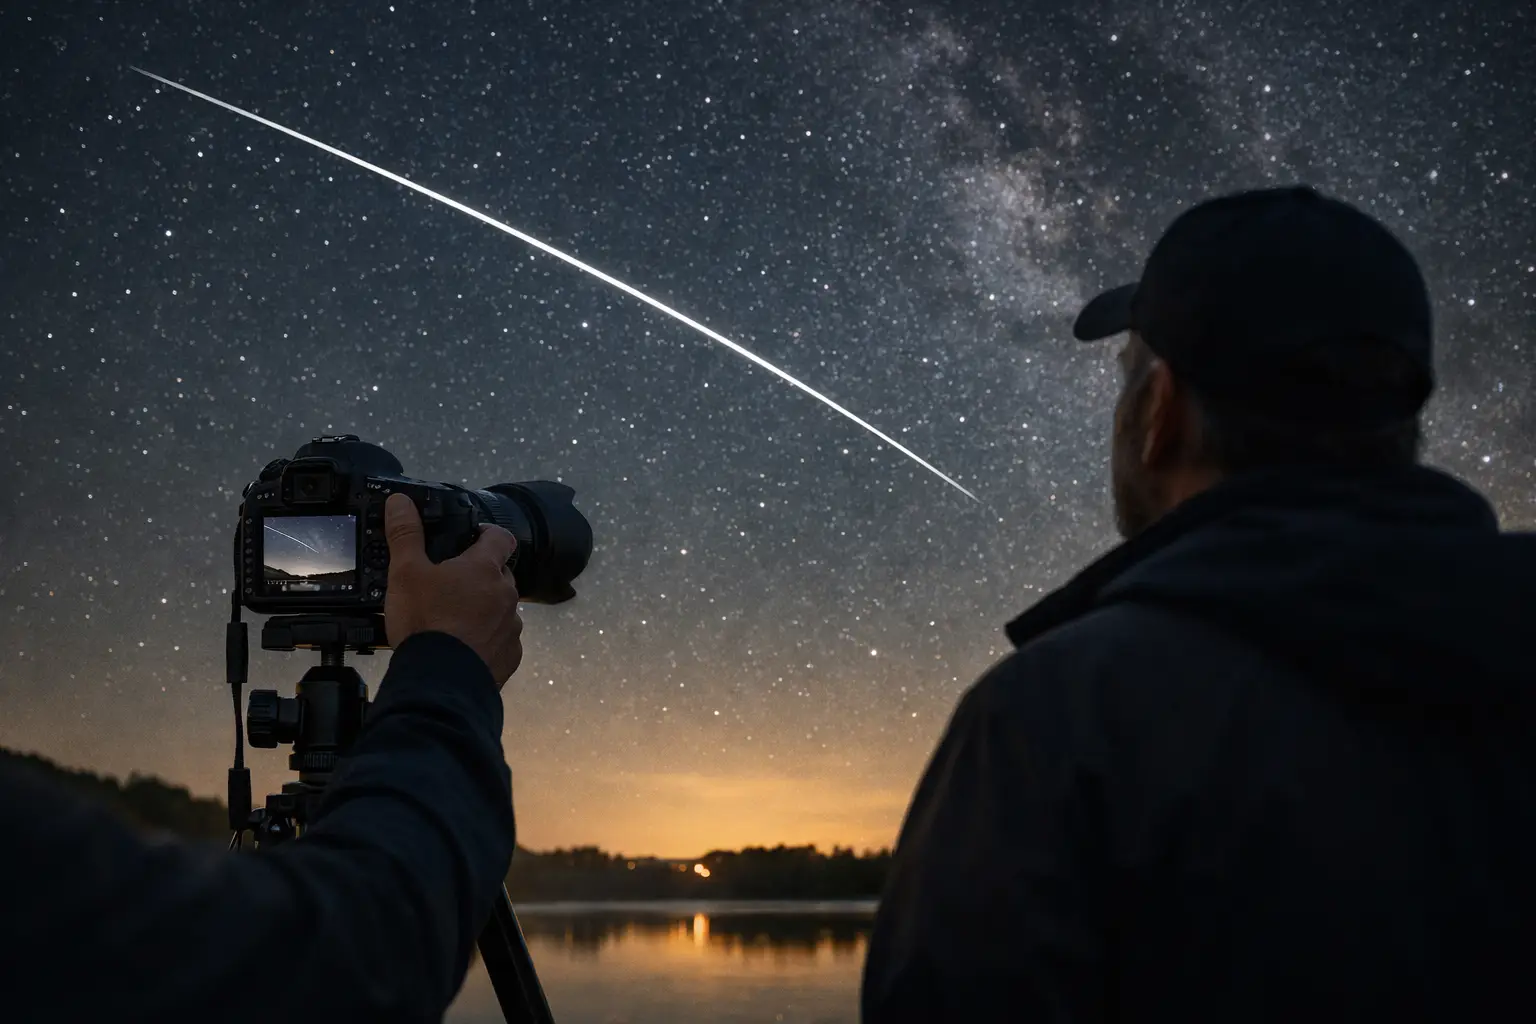
The International Space Station can cross your sky at nearly 27,600 km/h, yet it is one of the most approachable targets in astrophotography. Learning how to photograph ISS passes is less about exotic gear than precise local timing, a clear horizon, and deciding whether you want a glowing streak across the frame or a sharp spacecraft against the Moon. A good pass is a short live event: from first appearance to disappearance, many last only 3 to 6 minutes.
| ISS photography data point | Typical value | Why it matters |
|---|---|---|
| Orbital altitude | About 370-420 km | Its low orbit makes the station bright and fast-moving. |
| Orbital period | About 90 minutes | Several orbits occur daily, but only some are visible from your location. |
| Useful maximum elevation | 40-90 degrees | Higher passes are brighter and face less atmospheric haze. |
| Common visible brightness | Magnitude -1 to -3 | At its best, the ISS can outshine nearly every star in the sky. |
Start with a pass worth photographing
A visible pass happens when the station is still lit by the Sun while your sky has become dark enough to see it. The best windows usually fall within roughly 1 to 2 hours after sunset or before sunrise. A pass at 15 degrees above the horizon can be fun to spot, but it is often dimmed by haze, trees, houses, and city glow. For photography, prioritize predictions that reach at least 40 degrees, and treat 60 degrees or higher as prime targets.
Use a live ISS tracker set to your exact observing location, not simply your nearest major city. Check the date, local start time, maximum elevation, and compass direction at first appearance and at peak altitude. If a prediction says the station appears at 9:14 PM EDT on August 20, reaches 67 degrees in the southwest at 9:17 PM, and vanishes toward the northeast at 9:20 PM, you have a three-minute flight plan. Be outside and framed by 9:04 PM, not 9:13 PM.
Cloud cover matters more than Moon phase for a wide-field ISS trail. Thin clouds can soften the line but may create a dramatic image; a solid cloud deck ends the attempt. A bright Moon can wash out faint stars, though it can also light a foreground landscape. The trade-off is creative: prioritize dark, star-rich skies for a classic trail, or embrace moonlight for a landscape with depth.
How to photograph ISS passes as bright trails
The most reliable first result is a continuous or segmented trail. Mount your phone or camera on a stable tripod, compose a wide view of the predicted path, focus before the station arrives, and let the station move through the frame. Do not attempt to follow it by hand during a long exposure. The Earth rotates while the ISS races overhead, so both the station and stars will move during an exposure, but the ISS will create the strongest, cleanest line.
A 14- to 24-mm full-frame-equivalent lens is an excellent starting point. On an APS-C camera, roughly 10 to 16 mm provides a similarly wide view. At these focal lengths, a small aiming error is recoverable, and you have room for a skyline, landmark, trees, or a foreground observer looking upward.
Begin with manual exposure at 10 seconds, f/2 to f/2.8, and ISO 800 in a dark location. In a bright suburb, shorten to 3 to 6 seconds and lower ISO to 100-400. Review the first frame before the pass. If the sky background looks gray or orange rather than dark, reduce exposure time or ISO. If the stars are weak and the landscape is too dark, lengthen the exposure or raise ISO.
For a more polished trail, shoot a continuous series of 2- to 10-second exposures with a 1-second or shorter interval. Later, the frames can be combined into one path image. This method protects highlights in city lights and gives you control over the final trail length. It also produces breaks between frames if the interval is too long, so enable the fastest practical continuous shooting mode and turn off long-exposure noise reduction. That setting can make the camera pause for as long as the exposure itself, which is exactly when the ISS is moving through your composition.
Phone settings that can work
A phone’s standard photo mode may brighten the sky too aggressively or merge several seconds into a computational image, sometimes weakening the clean trail. Use a tripod and a manual or pro mode if your device offers one. Start around 4 to 10 seconds, ISO 100 to 400, and focus at infinity. Lock focus and exposure before the pass begins.
Some phones cannot hold a 10-second exposure without a third-party camera app, and that is fine. Capture multiple 1- to 3-second frames instead. A phone excels when the scene includes a strong foreground such as a launch museum display, a recognizable skyline, or a family watching from a backyard. The image becomes a record of an event, not merely a line of light.
Focus and compose before mission time
Autofocus is unreliable on a dark sky. Focus manually on a distant building light, a bright star, or the Moon, then switch to manual focus so the lens cannot hunt. On cameras with a focus magnifier, enlarge a bright star and adjust until it is as small as possible. Do this before the pass. Infinity markings on many lenses are approximate and can be slightly beyond true infinity.
Your composition should account for the whole track, not only its peak. A pass that rises in the west and reaches 75 degrees can cover a huge section of sky. Pointing at the maximum altitude may cut off the first half of the trail. For a near-overhead pass, a vertical frame can capture more of the climb and descent. For a lower 30- to 50-degree arc over a skyline, landscape orientation usually works better.
Leave extra room around landmarks. The ISS moves much faster near its closest approach, and its path can feel surprisingly different from a compass diagram once you are looking upward. A wide lens is forgiving. A tight composition is a calculated risk.
Photographing the ISS as a sharp moving point
A sharp, resolved station is far more difficult than a trail. At 400 km away, the ISS is only about 109 meters across, giving it an angular size often near 50 arcseconds at close range. That is far below what ordinary wide-angle photography can reveal. With a telephoto lens, you can record a bright point or a small shape, but atmospheric turbulence, focus, and tracking accuracy become decisive.
Use 200 to 600 mm, a sturdy tripod or gimbal head, and short exposures. Start at 1/500 second, f/5.6 to f/8, and ISO 3200 to 6400, then adjust according to the pass brightness. The station may move roughly 1 degree per second near maximum elevation, so even 1/125 second can smear it at long focal lengths. Continuous autofocus may help on some camera bodies, but pre-focusing on a distant object and manually tracking is often more predictable.
Expect a low keeper rate. Begin tracking several seconds before the station enters your desired area, shoot high-speed bursts, and keep both eyes open if possible – one through the viewfinder and one watching the sky. The station will not look like a detailed movie spacecraft in a single beginner frame. Capturing a crisp, bright point crossing a recognizable star field is already a successful technical shot.
Plan transits with precision and protect your eyes
An ISS transit across the Moon or Sun is a separate mission. The event can last only about 0.5 to 1.0 second, and it is visible from a narrow path on Earth that may be only a few kilometers wide. Your usual city-wide pass prediction is not accurate enough. You need a transit prediction for your exact observing point, a synchronized clock, and a camera already aimed at the solar or lunar disk.
For a lunar transit, a 500- to 1,000-mm equivalent focal length and a burst rate of 8 frames per second or faster can produce a memorable silhouette. The Moon is bright, so exposures around 1/500 to 1/2000 second at ISO 100 are reasonable starting territory, depending on phase and aperture.
For a solar transit, use a certified solar filter securely fitted over the front of the lens or telescope. Never look at or photograph the Sun through an unfiltered optical viewfinder, lens, binoculars, or telescope. Do not rely on sunglasses, exposed film, or a dark camera setting. A solar transit is spectacular, but eye safety is non-negotiable.
A quick field routine for your next pass
Arrive 10 minutes early, check the tracker one final time, and confirm you are facing the correct first-appearance direction. Set focus, exposure, interval shooting, and composition while there is still time to correct mistakes. Then stop staring at the screen. Watch the sky at the predicted start time, because the first sight of the ISS is the moment that turns orbital data into something personal.
Your first successful frame may be a simple white arc over your neighborhood. Keep it. The next clear, high-elevation pass is another launch window, and every attempt makes your timing, framing, and instincts faster.