
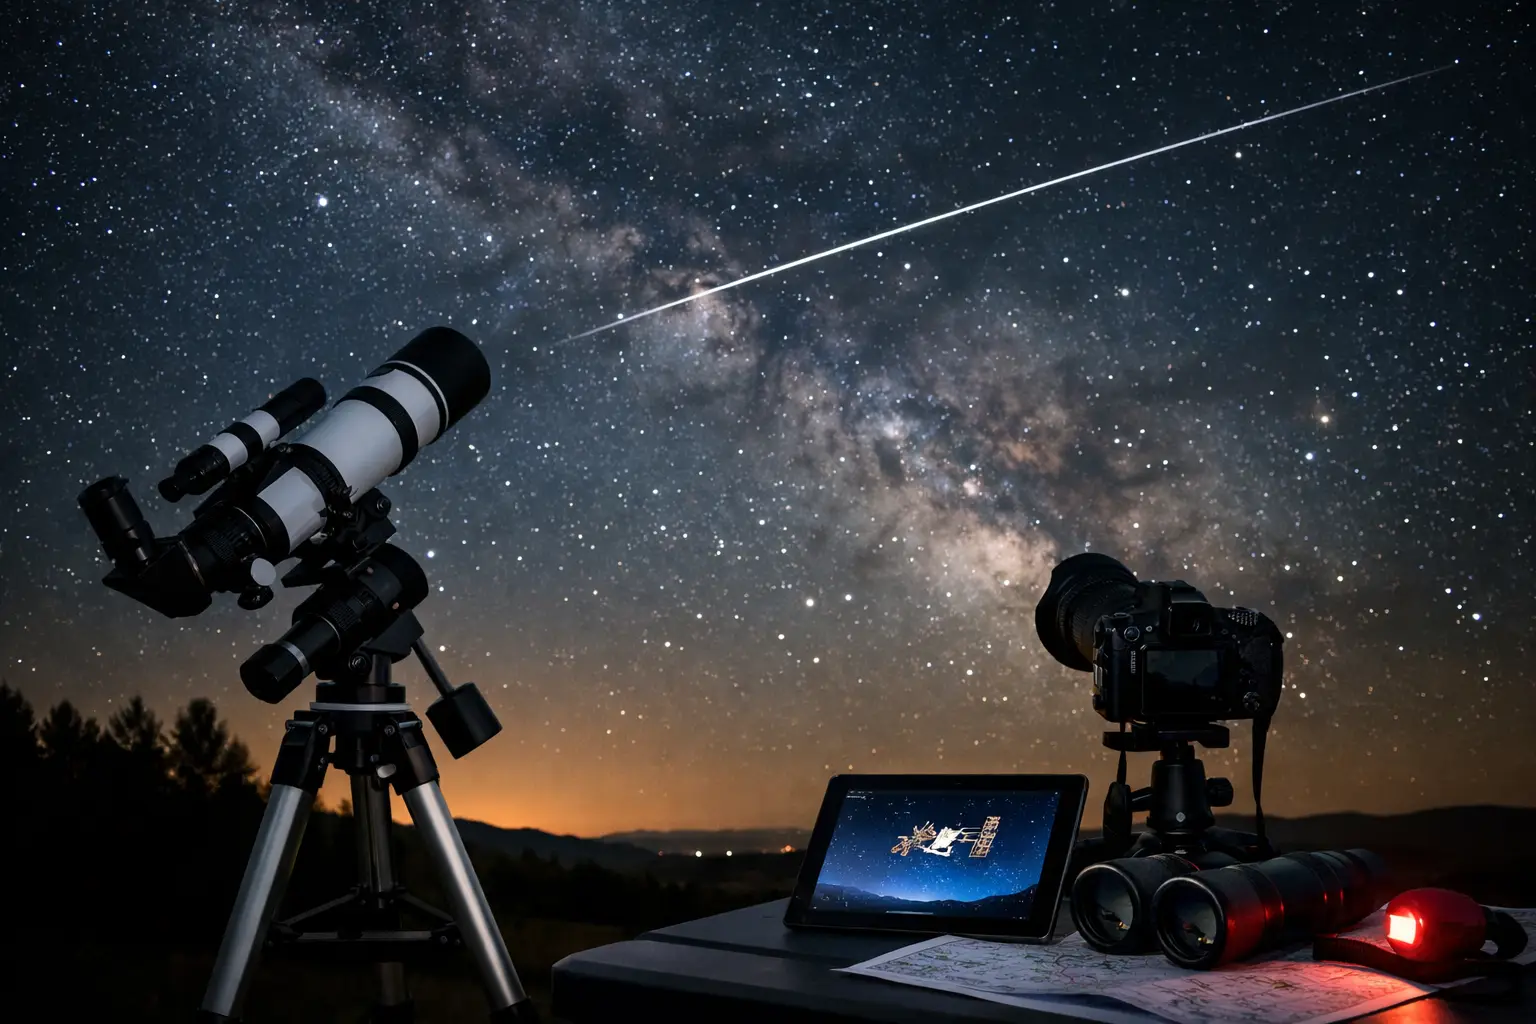
The ISS does not wait for a convenient weekend. It can cross your sky at roughly 27,600 km/h, remain visible for only 2 to 6 minutes, and vanish behind a roofline before you have finished opening the wrong app. The best tools for ISS spotting turn that fast-moving opportunity into a planned backyard event, with a precise pass time, direction, altitude, and cloud forecast for your exact location.
| Planning data | Useful target | Why it matters |
|---|---|---|
| Pass duration | 2-6 minutes | You need to be outside before the pass begins. |
| Maximum altitude | 40 degrees or higher | Higher passes clear trees, homes, and haze more easily. |
| ISS orbital altitude | About 370-420 km | Its low orbit makes the station bright enough to see without a telescope. |
| Orbital period | About 90 minutes | The ground track shifts quickly, so local predictions are essential. |
| Alert lead time | 30, 10, and 2 minutes | Multiple reminders prevent a missed pass when the window is short. |
The station has been continuously inhabited since November 2, 2000, but seeing it remains wonderfully direct: a bright, steady point gliding across the sky. It does not blink like an airplane, and it usually moves much faster than a high-altitude jet. A well-planned pass can be a first astronomy win for a family or a satisfying check-in for an experienced observer.
Best tools for ISS spotting that matter
The strongest setup is not a single gadget. It is a compact stack of tools that answers four questions: When will the station appear? Where will it rise and disappear? Will the sky be clear? And can you orient yourself outdoors without losing the pass?
1. A location-based ISS pass predictor
Make this your mission-control screen. A good pass predictor uses your city or precise coordinates and reports the local date, local time, rise direction, maximum altitude, peak brightness, and set direction. It should also offer UTC, because UTC is the standard time reference used across space operations and removes confusion when traveling or comparing predictions.
The maximum altitude is the number to watch. A 15-degree pass may be technically visible, but it is often blocked by homes, trees, haze, or city glow. Prioritize passes peaking above 40 degrees. A pass above 60 degrees is usually excellent, and one near 90 degrees travels nearly overhead. For a clear horizon, even a 25-degree pass can be worth catching, especially if its predicted brightness is magnitude -3 or brighter. In the magnitude scale, more negative numbers mean brighter objects.
Predictions can shift as orbital data is updated, so check again on the day of the event. That matters especially for a pass scheduled several days ahead. The ISS circles Earth about 16 times per day, but Earth rotates beneath it, creating a different viewing geometry for your location on every orbit.
2. A live ground-track map
A pass predictor tells you the plan. A live tracker tells you what is happening now. Look for a map that shows the ISS position, its recent path, and the moving day-night boundary. That last layer explains whether the station is likely to be sunlit while your sky is dark enough for viewing.
The best visible passes usually happen after sunset or before sunrise. From the ground, you are in twilight or darkness, while the station, hundreds of kilometers overhead, still catches sunlight. If the live map shows the ISS crossing your region during full daylight, it may still be above you but will be difficult or impossible to see with the unaided eye.
A live map is also useful when a prediction says the station rises in the northwest and you want confidence before stepping outside. It turns abstract compass directions into a moving, visual route. For educators, that route makes a 90-minute orbit and a 24-hour rotating Earth immediately understandable.
3. A sky map with compass mode
The most common reason people miss an ISS pass is not poor astronomy. It is looking in the wrong part of the sky during the first 20 seconds. A sky map or compass tool gives you a reliable bearing such as northwest at 315 degrees, then helps you match that direction to your actual street, trees, and rooftop.
Calibrate the phone compass before relying on it, and keep it away from magnetic phone mounts, car speakers, and metal railings. Use the map before the pass starts, not while the station is already moving. Identify a landmark in the correct direction, then put the phone away and watch the sky.
This tool becomes even more valuable for low-elevation passes. At 20 degrees altitude, the ISS is only about two fist-widths above the horizon when you hold your fist at arm’s length. At 45 degrees, it is roughly halfway between horizon and zenith. Those simple visual measurements are faster than trying to interpret a screen outdoors.
Add weather intelligence before you commit
An orbital prediction can be perfect and still produce nothing but clouds. Use an hourly cloud forecast alongside the pass details, with particular attention to cloud cover during the 15 minutes around the predicted rise time. A forecast of 0-25% cloud cover is generally promising, while 75-100% usually means it is time to wait for another pass.
Do not stop at the percentage. Thin cirrus can allow the ISS through, but low stratus, fog, smoke, and incoming thunderstorms can erase it completely. If you have access to a local radar or satellite cloud layer, check it 30 minutes before the pass. A gap moving toward your area can be more useful than a broad hourly icon that simply says partly cloudy.
Transparency matters as much as darkness for ISS viewing. Urban observers often do well because the station can outshine light pollution, but humid air and horizon haze can weaken a low pass. If the forecast calls for high humidity and the pass peaks below 30 degrees, choose an unobstructed location or aim for the next higher pass.
Set alerts like a launch countdown
A single notification at pass time is too late. Set three alerts: 30 minutes to check cloud conditions and charge your phone, 10 minutes to move to your observing spot, and 2 minutes to face the rise direction. If the pass begins at 9:14 PM local time, be standing outside by 9:12 PM, not searching for a jacket at 9:14.
Notifications should include the local time zone. This sounds basic, but it prevents a frequent mistake when a device is set to travel mode or a prediction is displayed in UTC. For group viewing, send one message with the date, time, rise direction, maximum altitude, and a clear instruction such as look northwest at 9:12 PM.
The tools you do not need
You do not need a telescope. At 370-420 km away, the ISS is too small for a typical backyard telescope to reveal much detail, and manually tracking it at its apparent speed is challenging. Binoculars can show a brighter point, but their narrow field of view makes finding and following the station harder for beginners.
You also do not need an expensive camera to enjoy the pass. If you want a photo, use a tripod, a wide-angle view, and a several-second exposure only where local conditions allow. The better first goal is simply to watch the station cross the sky with your own eyes. Once you know its route, camera experimentation becomes far more rewarding.
A fast ISS spotting workflow
The afternoon before a planned pass, select one with a peak altitude above 40 degrees and a brightness forecast near magnitude -3 or better. Thirty minutes before rise, inspect cloud conditions. Ten minutes before, use the sky map to locate the rise bearing and choose a spot with an open view in that direction.
At two minutes out, dim your phone screen, face the horizon, and look for a steady white light moving along the predicted path. Keep watching through the entire pass. The station can brighten dramatically as its angle to the Sun changes, then fade within seconds as it enters Earth’s shadow.
A great ISS sighting is a small, scheduled rendezvous with a spacecraft moving faster than 7.6 km every second. Keep your tracker, weather view, and compass ready, and the next clear pass can turn an ordinary evening into a live connection with the crew orbiting overhead.