
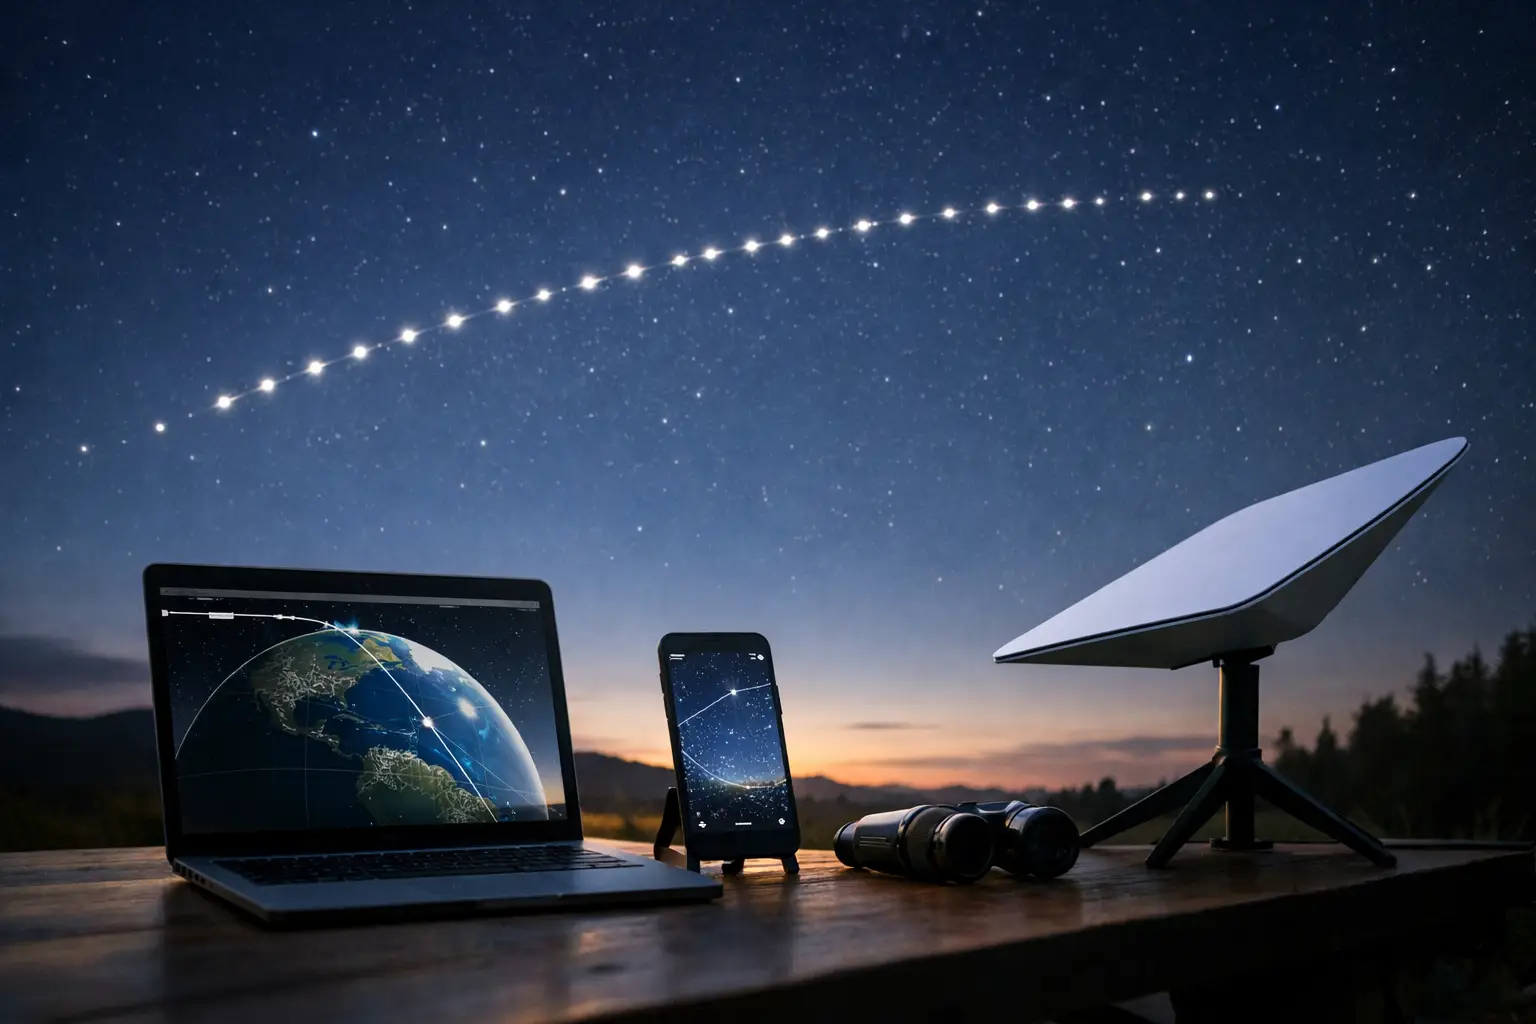
A Starlink tracker turns a fast-moving dot in the sky into a scheduled event: the exact minute it rises, its highest point above your horizon, and where to look before it disappears. That matters because a typical visible pass can last only 2 to 6 minutes, while the satellite itself is racing around Earth at roughly 27,000 km/h.
| Tracking value | Typical value | Why it matters |
|---|---|---|
| Operational orbit altitude | About 530-570 km | Low orbit produces quick, visible horizon-to-horizon motion. |
| Orbital speed | About 27,000 km/h | A 1-minute timing error can put the satellite far from the predicted position. |
| Orbit period | About 95-96 minutes | The same object may make several passes, but not all will be sunlit or visible. |
| Strong viewing threshold | 40 degrees or higher altitude | Higher passes spend less time behind trees, roofs, haze, and city glow. |
What a Starlink Tracker Is Actually Showing
A tracker does not detect satellites through your phone or browser. It calculates their future position from recent orbital elements, your observing location, and the geometry of the Sun below your horizon. The useful result is not merely a map. It is a location-specific forecast that tells you whether a particular object can be illuminated enough for your eyes to catch it.
Starlink satellites are in low Earth orbit, not parked over one place like a TV weather satellite. A common operational altitude is roughly 550 km above Earth. At that distance, they can rise in the west, climb toward overhead, and fade toward the east in a few minutes. Their ground track shifts on every orbit as Earth rotates beneath them.
A good live display should identify the pass start time, peak altitude, compass direction at rise and set, and predicted brightness when available. The most valuable number for a backyard observer is usually maximum altitude. A pass peaking at 12 degrees may be technically visible, but it is often swallowed by neighborhood obstructions. A 65-degree pass is a very different event.
The first 60 operational Starlink satellites launched on May 23, 2019 UTC. Early deployments produced the famous tightly grouped trains that drew widespread attention. Satellites now separate into operational positions after launch, so a tracker may show a single satellite, several spaced objects, or a recently deployed group depending on the launch timeline and your location.
Read the Pass Forecast Before You Step Outside
A pass forecast becomes simple once you know the four fields that control the experience: time, direction, elevation, and illumination. Start with your location. A forecast for downtown Chicago can differ substantially from one for a suburb 30 km away, especially near the edge of a pass footprint.
Start time is not the whole show
The listed start time normally marks when the object first rises above a modeled horizon, often at 0 degrees altitude. Your real horizon is rarely that clean. Houses, tall trees, ridgelines, and apartment buildings can block the first 10 to 25 degrees of sky.
Be outside 2 minutes early, then use the rise direction rather than staring straight up. If a pass begins at 9:14:30 PM local time in the northwest and reaches its maximum at 9:17 PM, the first visible moment from your yard may be closer to 9:15 PM. That is normal, not a bad prediction.
Direction is a compass instruction
Trackers commonly use the eight main compass directions: N, NE, E, SE, S, SW, W, and NW. A prediction such as rise WNW, peak 58 degrees, set ESE gives you a complete route across the sky.
For a practical reference, 0 degrees is the horizon, 45 degrees is halfway between the horizon and overhead, and 90 degrees is directly overhead. Hold a clenched fist at arm’s length and it spans about 10 degrees. A 50-degree peak is roughly five fist-widths above the horizon, though this is only a quick field estimate.
Brightness is a forecast, not a promise
Predicted magnitude is useful but conditional. In the astronomical magnitude scale, smaller and negative numbers are brighter: magnitude 1 is bright, magnitude 3 is readily visible under a dark sky, and magnitude 5 may be difficult in a bright suburb. Moonlight, haze, twilight, and the satellite’s changing angle can all reduce visibility.
The satellite must be in sunlight while your observing site is dark enough. That combination is why the strongest chances often occur in the 30 to 90 minutes after sunset or before sunrise. Civil twilight runs while the Sun is 0 to 6 degrees below the horizon, nautical twilight from 6 to 12 degrees, and astronomical twilight from 12 to 18 degrees. A Starlink can remain sunlit during all three, but your sky background gets darker as the Sun drops lower.
How to Use a Starlink Tracker for a Better Observation
Choose the next pass that peaks above 40 degrees and occurs after the sky has darkened enough for your local conditions. A 20-degree pass listed as bright can still be worthwhile from an open field. From a tree-lined neighborhood, a 55-degree pass with a slightly dimmer prediction is usually the smarter target.
Set your location precisely, including the correct time zone and daylight-saving setting. Then check whether the tracker is displaying local time or UTC. UTC is the global time standard used in spaceflight data. During daylight saving time, Eastern Daylight Time is UTC-4, Central Daylight Time is UTC-5, Mountain Daylight Time is UTC-6, and Pacific Daylight Time is UTC-7. A UTC/local-time mix-up is the fastest way to miss a pass by hours.
Next, orient yourself before the countdown reaches zero. Open a compass on your phone, find the predicted rise direction, and identify a clear strip of horizon. Keep your eyes moving slowly along the expected path. Starlink satellites do not blink like aircraft, and they do not have the flashing red and green navigation lights of a plane. They usually look like a steady, moving white point.
If your tracker offers a sky path, use it as a route map rather than a precision sight. At 550 km altitude, a satellite’s apparent position changes rapidly, while a few degrees of phone-compass error is common. Look for the object with unaided eyes first. Binoculars can reveal a faint satellite but make it much harder to find because their field of view is narrow.
Why Predictions Change
Even a well-built forecast is time-sensitive. Satellites experience slight orbital changes from atmospheric drag, maneuvers, and deployment activity. Tracking systems refresh their calculations as new orbital data becomes available. A forecast generated several days ago can be less reliable than one checked shortly before heading outdoors.
This is especially true for newly launched satellites. Shortly after deployment, they may be lower, brighter, and traveling in an apparent group. As they raise orbit and spread into assigned positions, the visual pattern changes. Do not assume that every Starlink launch produces a dramatic train over your city on the first clear night.
Cloud cover is the other hard limit. A precise orbital prediction cannot see through clouds. If thin clouds are moving through, target a pass with a higher peak and give yourself an extra minute on either side of the predicted event. A bright object may appear briefly through a gap, while a low pass will vanish completely in haze.
Build a Reliable Starlink Viewing Routine
The most effective routine is short: check the latest forecast, select the highest pass, confirm the rise compass direction, and arrive outside 2 minutes early. For families and classrooms, announce the peak time rather than the rise time. A satellite at 50 to 70 degrees altitude is easier for everyone to follow without neck-straining or frantic pointing.
A live Starlink tracker is also a powerful way to understand the scale of low Earth orbit. You are watching a human-built spacecraft pass several hundred kilometers overhead, moving fast enough to circle Earth about 15 times per day. Pick one clear evening, make the forecast part of your sunset routine, and let the next bright pass turn an ordinary patch of sky into a live mission display.